
Watercolor Printing Using Stencils
Watercolor Printing With Stencils
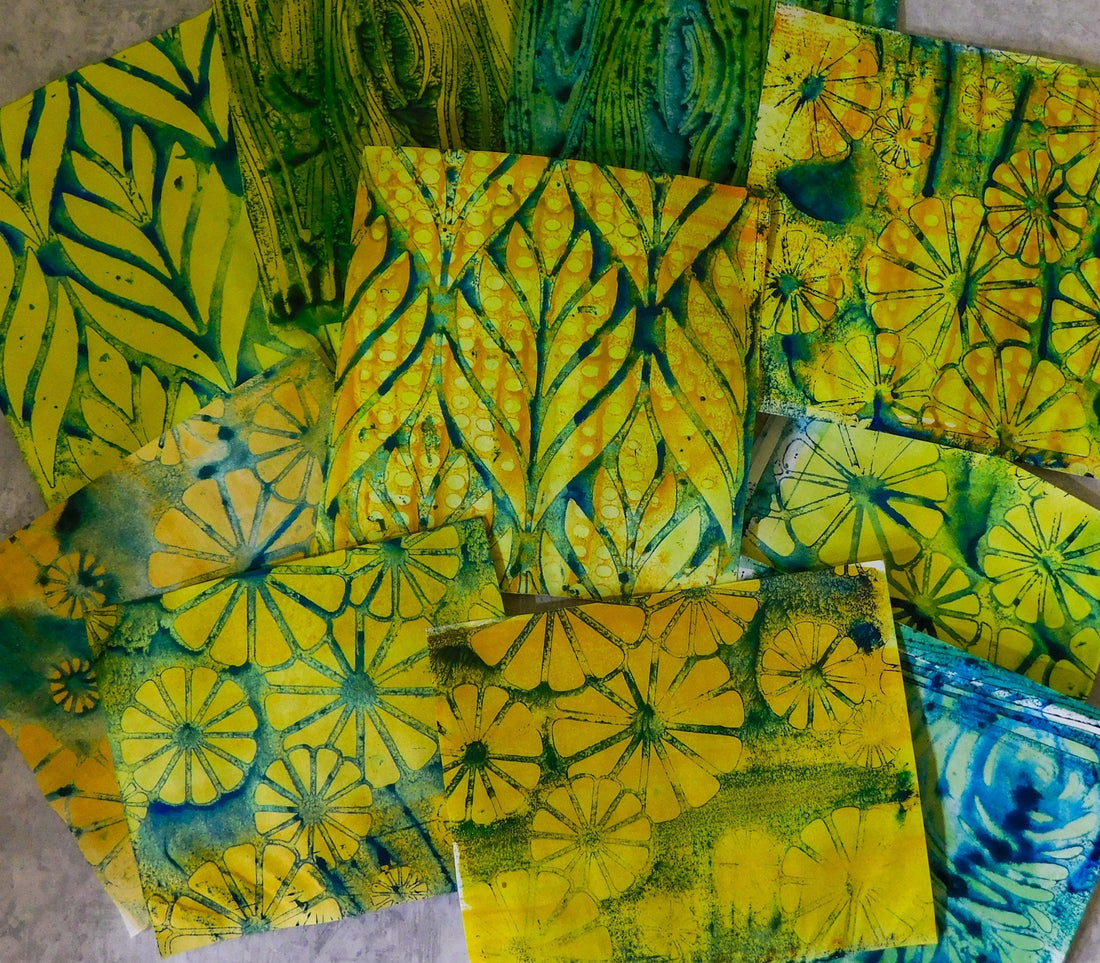
Grab your favorite stencils and watercolors and give this fun stencil printing technique a try! Because watercolor is transparent, you can create beautiful blends and layered effects. For extra depth, experiment with layering multiple stencils. If you’ve ever tried stencil smooshing, this method is more controlled — you’ll be using careful water application and reactivation to achieve more predictable print transfers.

All you need are watercolors, stencils, a brush, water, and some paper. Copy paper works great for practice, and a few sheets of junk paper will help protect your workspace while you paint directly onto the stencil.
You can start with a white base layer that’s damp but not shiny. For a two-color effect, begin with a light watercolor wash, again keeping it moist but not wet. Quickly paint another color onto your stencil, let it dry almost completely, then flip and press it onto your base layer. Use a brayer, soft cloth, or even your hand to burnish and transfer the print evenly.
Tips for best results:
-
Choose colors that blend well and won’t turn muddy.
-
If you’re unsure about color mixing, try monochromatic or analogous color schemes.
-
When layering stencils, use an open design for the top layer and a smaller, more detailed pattern underneath — the fine pattern will print first.
This technique is simple, satisfying, and full of creative possibilities.
Happy paper crafting!
This tutorial is free and includes 3 sessions. The mini workshop with session 4 is available here on Shopify.